




Any questions? Give us a call 05 - 375 3220
Free delivery for orders over 1000 € / 30 days Return policy

The ABC of cleaning a condenser
In this article, we will go through the most common maintenance procedure for system cameras, i.e. cleaning the sensor and the tools needed to do it.

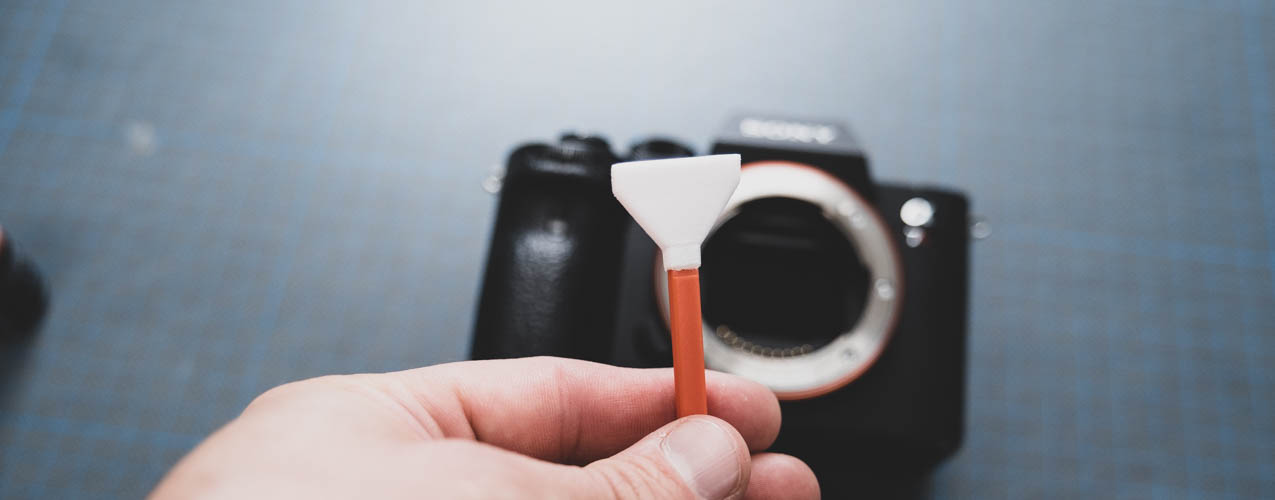
In this article we will go through the basics of cell cleaning. Cleaning the sensor is part of the basic maintenance of your camera and is something everyone should learn to do.
You can detect a dirty sensor by taking a picture of a monochrome subject, with a small enough aperture. I usually choose a cloudless sky as a background, it provides enough light to allow an aperture of f/11 or lower. Shutter speed doesn't matter, but ISO should be as low as possible, preferably native like ISO 100 or 200. If there is not enough light and the ISO is set above 800, it can be difficult to detect debris on the sensor through the noise. Dust balls appear as dark spots in the image, but they are transparent, not speckled. Example images are easily found From Google
The tools you need
- Camera (doh)
- Battery fully charged
- Cell cleaning strips in two pieces and cell cleaning liquid
- Nisi air pump (not compulsory)
There are three different sizes of sensor cleaning clamps, the right size is selected according to the sensor. You can also use a smaller spatula to clean a larger cell, but using the right size is quicker and easier.
Cleaning
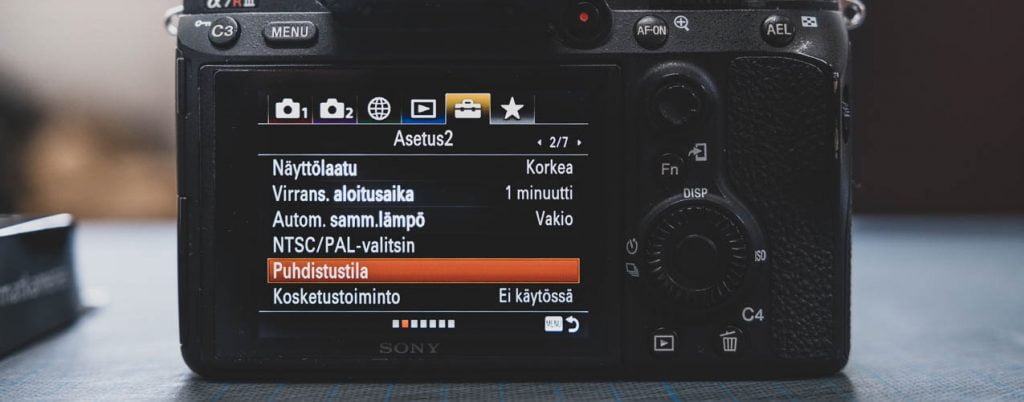
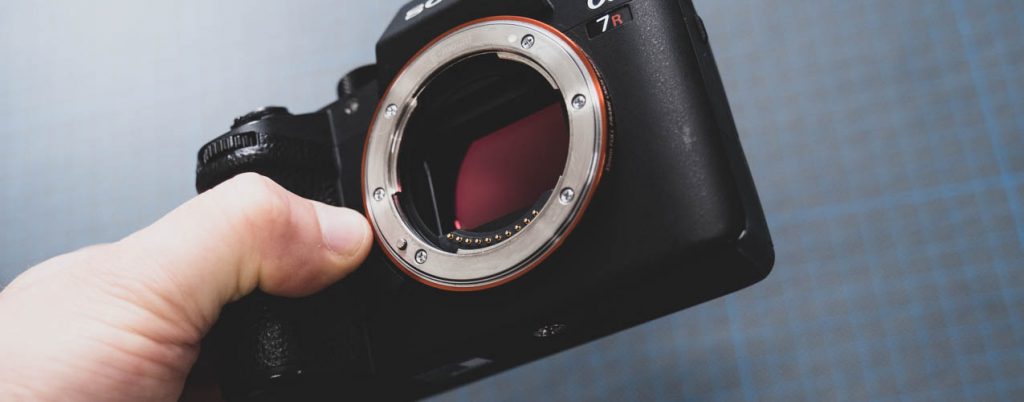
Cleaning starts by putting the camera in cleaning mode. For mirrorless cameras with an image stabilizer (Sony below) this means that the stabilizer is locked during cleaning. On mirrorless cameras, the mirror is raised for cleaning. Cleaning mode cannot be entered unless the battery is charged to more than 75% capacity.
Pre-open the two spatulas and put them in a place where there is no dirt, for example on top of the spatula's plastic wrap. Put liquid on the other spatula so that the part of the spatula that touches the cell is completely ”wet”. Rolle's products will turn red where the liquid is so this is easy to detect.
Then wipe the cell with a wet spatula. Use long strokes from one side to the other, and don't be afraid to use a little pressure when cleaning. The glass is on top of the cell, and you clean it, not the cell itself. If you don't apply any pressure to the glass, it can still be susceptible to getting dirt on it.

After a few rounds of swinging the spatula you can lift it off. There should be some droplets on the surface of the sensor, which tells you that there was enough liquid. Now take a dry load in your hand and wipe away the moisture and dirt on the cell in the same way you cleaned the cell.
The sensor is often quite static after washing and easily absorbs dust. So we always keep a Zeiss air pump nearby when cleaning and the last dust particles can be blown off because they are not stuck in the cell.
The sensor is now clean, but before you put the cleaning pads away, take another test photo to check whether there’s any dust left. If there is, go back to the cleaning section and repeat the steps 🙂 The blade may need to be re-wetted, but it’s best to keep the washing and drying blades separate.
Products used in the article
-

Zeiss Lens Cleaning Kit / lens cleaning kit
- Microfibre cloth without lint
- Blower and smooth brush included
- Professional quality, affordable price
-
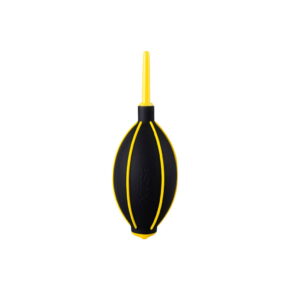
NiSi Power Air Blower
- Powerful airflow for dust removal
- A thin whistle for tight spaces
- Quick recharge valve
Related Posts




Need help?
Call 05 - 3753220
We answer calls from 10-17 on weekdays and 10-15 on Saturdays
Customer service via chat
Get an immediate reply (during opening hours)
Come and visit the shop
In the Kouvola store you will find all the stock products and services offered
Join over 7000 customers
You're always the first to get the most important news
Free delivery
For orders over 1000 €
30 pv return period
Safe to shop
Customer service
Fast and knowledgeable
Payment methods
Versatile and safe
Always affordable
We monitor prices constantly

Foto Monza Oy - 3009635-7
Any questions? Give us a call
+358(0)5-3753220
© Copyright Foto Monza 2026
