Any questions? Give us a call 05 - 375 3220
Free delivery for orders over 1000 € / 30 days Return policy
Any questions? Give us a call 05 - 375 3220
Free delivery for orders over 1000 € / 30 days Return policy
In this article, we will go through the most common maintenance procedure for system cameras, i.e. cleaning the sensor and the tools needed to do it.
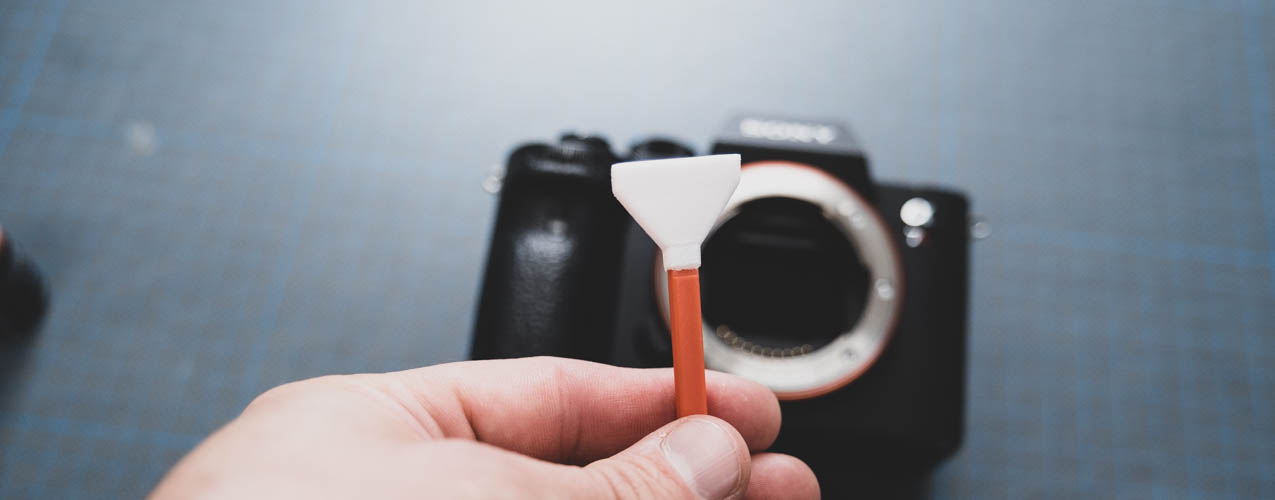
Cleaning the sensor is the most common maintenance task for a camera with interchangeable lenses. Dust gets inside the camera every time you change the lens, and before long it will appear as dark spots in your photos. Cleaning the sensor isn’t difficult if you use the right tools and take your time. This guide explains how to tell if your sensor is dirty, what equipment you’ll need, and how to clean the sensor step by step. If you’d rather not do it yourself, we can clean the sensor for you At our Kouvola shop.
Dust particles on the sensor appear in the image as dark, soft-edged specks that are always in the same place in the picture. They are most clearly visible at a small aperture against a uniform background, for example when photographing the sky. At a large aperture, the debris is often so blurred that it goes unnoticed.
Here’s how to carry out a cell test:
Please bear in mind that the image is a mirror image: the debris visible at the top of the image is actually at the bottom of the sensor.
Most of the debris in the cell is loose dust, which can be removed using an air pump. Always start with this, and only move on to wet cleaning if the debris does not come away.
Do not use a compressed air cylinder. Liquid may leak from a compressed air canister, leaving marks on the cell that are difficult to remove. Also, do not blow into it with your mouth, as droplets of saliva will stick to the cell.
The width of the squeegee must match the width of the cell so that the cell is cleaned in a single stroke from edge to edge.
| Cell size | Width of the blade | Example cameras |
|---|---|---|
| Full-frame | 24 mm | Sony A7 series, Canon EOS R6, Nikon Z6 |
| APS-C | 16 mm | Fujifilm X series, Sony A6000 series, Canon R7, R10, R50 |
| Micro Four Thirds | 12–14 mm | OM System, Olympus, Panasonic Lumix G |
You’ll find all the equipment you need sensor cleaning supplies from the department.
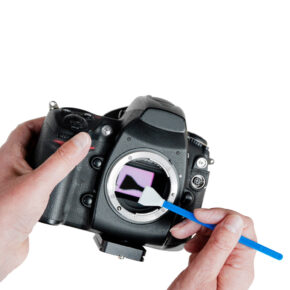
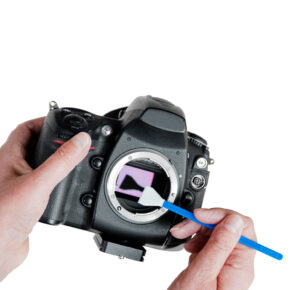
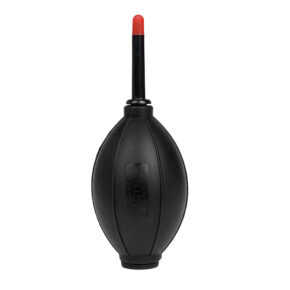
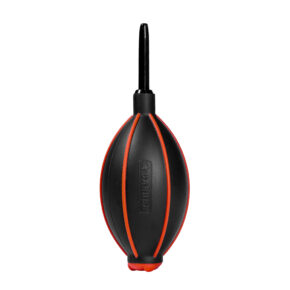
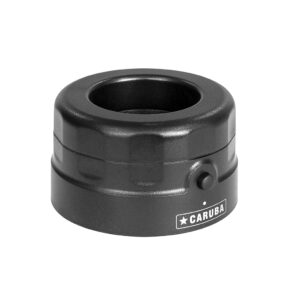
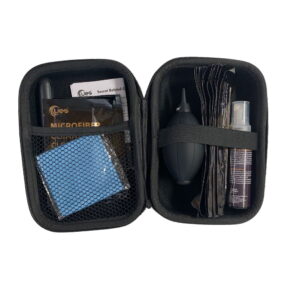
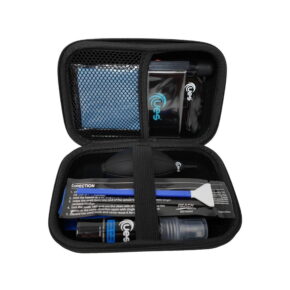
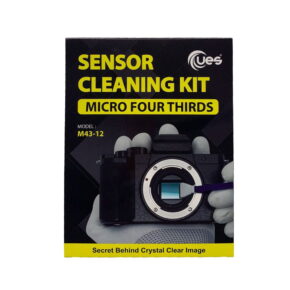

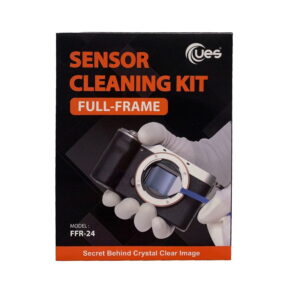
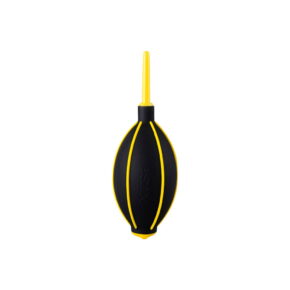
If you don’t want to clean the sensor yourself, bring the camera in Foto Monzan shop in Kouvola to Asemakatu 2 B. We clean the sensor using professional-grade equipment and check the result with a test image. Sensor cleaning costs 29,90 € for all cell sizes, and it is usually ready on the same day.
This service is particularly suitable if there are stains on the sensor that cannot be removed with a blower, or if you do not want to take any risks with an expensive camera. We serve customers from Kouvola and the whole of the Kymenlaakso region, including Kotka, Hamina and the Lahti area. During the same visit, you can also purchase your own sensor cleaning supplies and ask for advice on how to use them.
When debris appears in the photos. For a photographer who changes lenses frequently, this might mean every few months; for someone who changes them rarely, it might be once a year or even less often.
Oh dear. There is a protective glass cover on the surface of the sensor, so cleaning it is safe provided you use the right tools and take care. The risks arise from using the wrong liquid, a scraper, or sand that hasn’t been blown off first.
At our Kouvola branch, cell cleaning costs €29.90, regardless of the cell size. If you clean the cells yourself, a cell cleaning kit costs around €30 and contains enough scoops for several cleaning sessions.
If the spot appears in the same place with all lenses, there is dirt on the sensor. If it appears with only one lens or changes position when zooming, there is dirt on the lens, in which case it is sufficient to clean the lens elements.